The product page is a crucial part of your Shopify store. This is the place where you can showcase your products to customers. But uploading your product may feel quite a daunting task if you don’t know how to do it properly.
In this tutorial, I will show you how to add a product to your Shopify store.
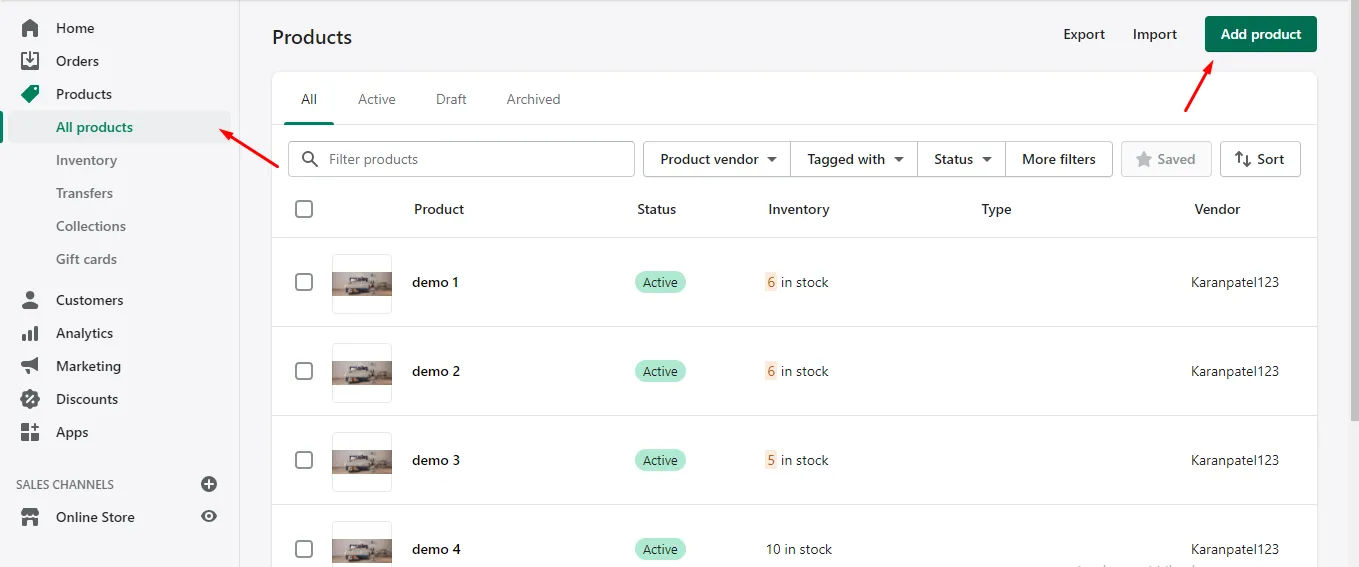
1. Log in to your admin panel.
2. You will see a Products menu on the left side options menu.
3. Click on Products menu > all products.
4. It will redirect you to the Products page.
5. Click on Add new button located at the top right corner of the page.
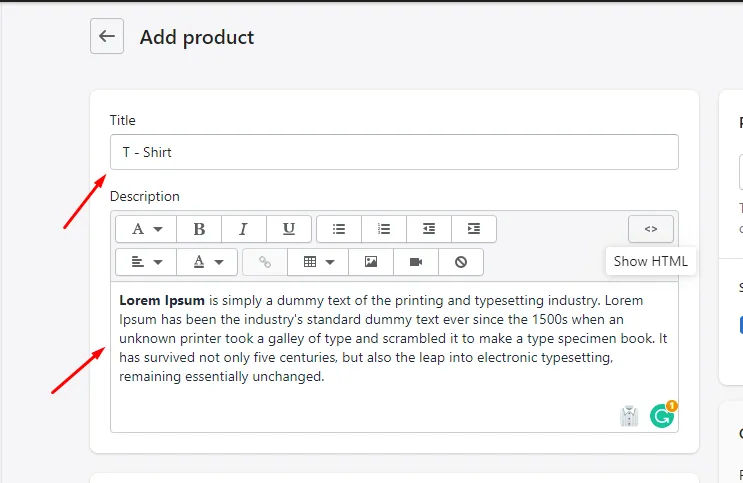
6. Add your product’s name and a description
7. Add your product’s image

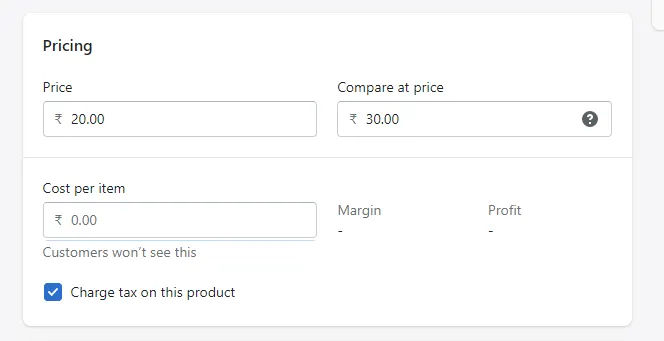
8. Add price
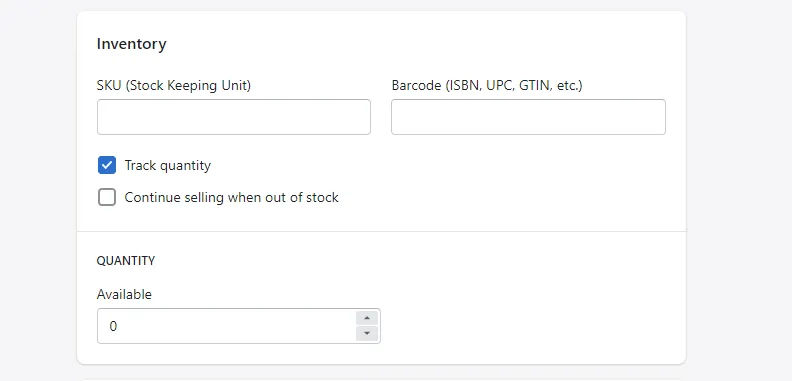
9. Add inventory
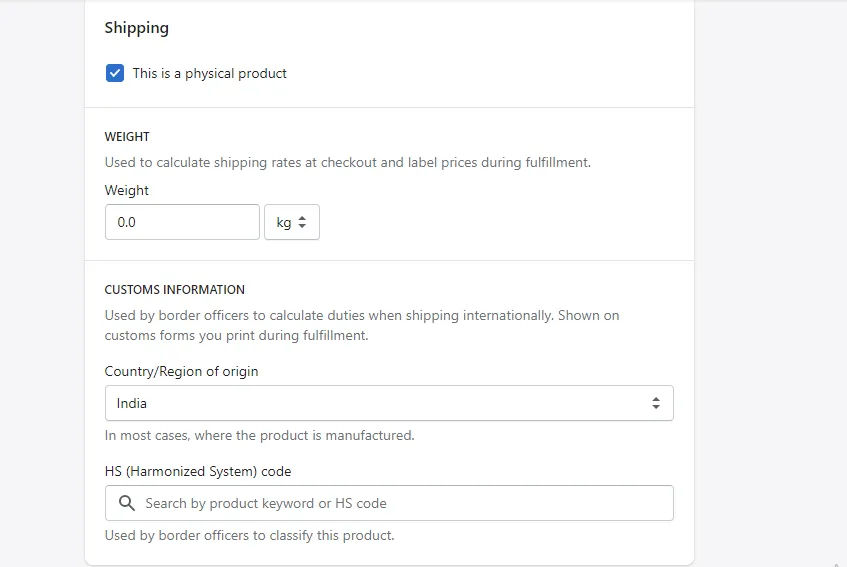
10. Add shipping method
11. Apply collection and tags in your product

12. Change your product’s status draft to active.
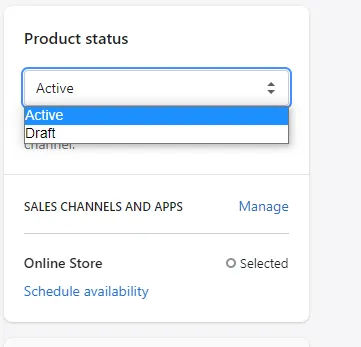
Table of Contents
Conclusion
I hope this article will prove to be helpful in your Shopify project. Please share this post on your social media and comment down below if you have any questions regarding this tutorial.
If you are looking for a software firm to create your business website or mobile app, your search ends here. We build affordable and robust software solutions for businesses to digitally thrive on. Contact us to get a quote. You can mail us on [email protected] or WhatsApp us on +91 95 37 84 38 39.


