When you enter into your WordPress dashboard, you will find a list of menu options at the side of the screen. These menu options allow you to add posts, pages, plugins, media files and helps you to configure various settings on your WordPress website. Today we will be going to explain the working of these menu options.
Table of Contents
Dashboard
The dashboard is the first menu listed in your WordPress blog’s admin panel. This menu contains two sub-menus, Home and Updates. The home menu is used for coming back to the home screen from any sub-menu. Home is the first screen you encounter when you log into the WordPress admin panel. Update sub-menu notifies you about any new updates released for WordPress core, themes, or plugins.
Posts
This menu helps you to create and manage blog posts. When you click on the posts menu you will see a drop–down list of sub-menus like Add New, Categories, and Tags.

Add New menu will take you to the section where you can create new blog posts.

When you click on this menu you will see a text editor screen and several editing options and tools that help you to give structure to your blog post.
You will see text boxes to write the title and content of the screen.

There are some other helpful dropdown options like permalink, Categories, Tags, Featured Image, etc, placed at the right side of the screen, which adds some extra information to your blog post.
Permalink dropdown shows the permanent link of your blog post.

Categories dropdown shows a list of categories. You can add a new category by clicking on the Add New Category button.


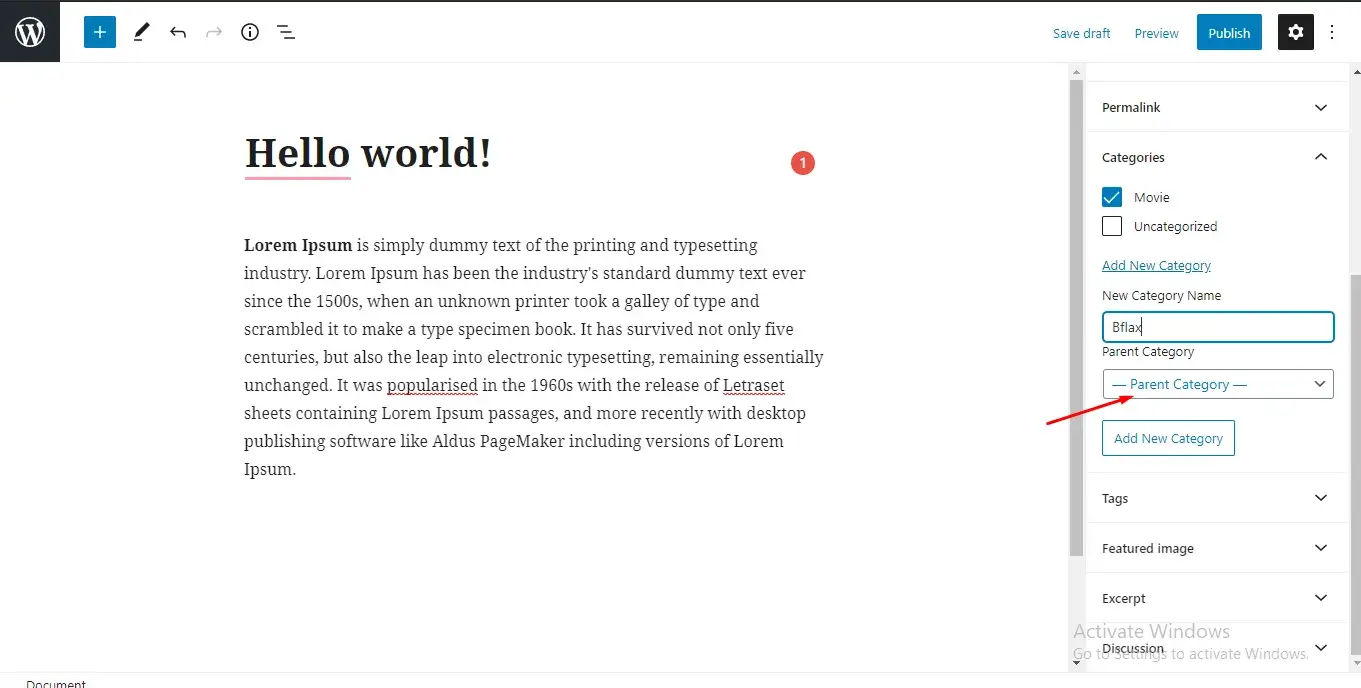

Tags dropdown adds tags to your blog post.

Just type a tag name and hit enter, your tag will be added.


Featured Image adds the main image in your blog post. Click on the set featured image section and it will ask you to add from existing or you can upload a new image from your local storage.

Images will be displayed in the featured image section.

Categories and Tags are also added as sub-menu of the Posts menu. You can create and manage them directly from outside of the post screen.
At the right top corner of the page, you will see buttons like save a draft, preview, and publish. Save draft button saves your article as a draft, the preview button gives you a preview of your blog post, and the publish button publishes the post immediately or at the scheduled time.

You can preview the post by clicking on the preview button.

Media
The media menu helps you to upload and manage media on your site. The option “Library” shows you already uploaded media files and “Add New” redirects you to a page where you can upload new media.


Pages
WordPress pages are static pages you can add to your site. The Pages menu allows you to create and manage pages like the home page, contact us page, feedback page, etc.

When you click on this menu a dropdown will emerge below, which will show options like All Pages and Add New. All Pages option will show you the list of all static pages published on your site.
Add New option will redirect you to the page editing screen, where you can add relevant content and publish it.


Unlike blog posts, you cannot add categories or tags to static pages.
But you can set the visibility of your page.


And you can change the page’s URL slug too.

Appearance
Appearance Menu helps you to upload new themes, customize existing themes, set header image, background image, and add custom widgets in your theme.


You will see sub-menus like Themes, Customize, Widget, Menus, Header, Background, Theme Editor, etc.
The themes option allows you to upload, view, and delete your theme.

Customize option allows you to customize your site.

The widget option allows you to add widgets to your side menu.

The menus option allows you to create and manage menus of your website.

To create a menu, click on the Menus option and you will be redirected to the Menus page where you will see several sections for creating a menu.

Add your menu title.


Here are the pages you’ve created, check on the page, and click on the Add to Menu button.

Checkmark the menu and click the Add to Menu button.

The menu will be added to the list.

You can add posts, same as you’ve added a menu.

You can custom link and URL in your menu.


You can select and add a category to your menu list

Select your menu location

And click on the Save Menu button

The Theme Editor option allows you to customize your theme through coding.

You can edit your template from here:

These all are your theme files; you can alter them by clicking.

Click on the Update button to apply whatever changes you’ve made.

Plugins
Plugins menu helps you to manage all the plugins of your website. You can install new plugins from the WordPress plugins directory or upload your own custom plugin. You can enable or disable plugins and change every plugin related setting from this menu.
Click on Add New to install a new plugin.

You will be redirected to the plugin directory, where you search and install any plugin you want.

Click on Install Now, your plugin will be installed on your site.

You can see that in the installed Plugins menu.

If you want to upload your custom plugin, go to the Add New page, you will see the Upload Plugin button at top of the page. Click that and upload your plugin file from your local directory.

If you want to edit your plugin, you can do so with the Plugin Editor option.


Settings
Settings menu contains all the settings that can change the default behavior of WordPress. The settings menu has several options such as General, Writing, Reading, Discussion, Media, Permalink, Privacy, etc.
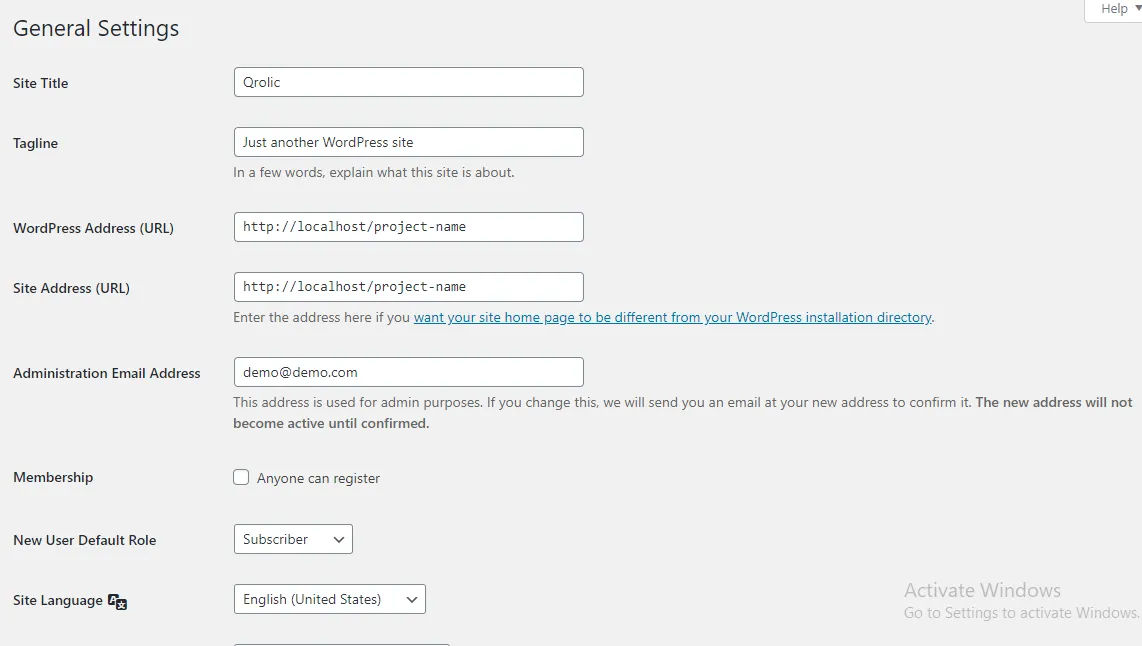
The General option is used to edit the general details of your site.

The Writing option is used to edit your default format, mail server, login credentials, etc.

The Reading option is used to edit your default home page and post page, you can set how many blogs you want to show on your feed page and syndicate the feeds.


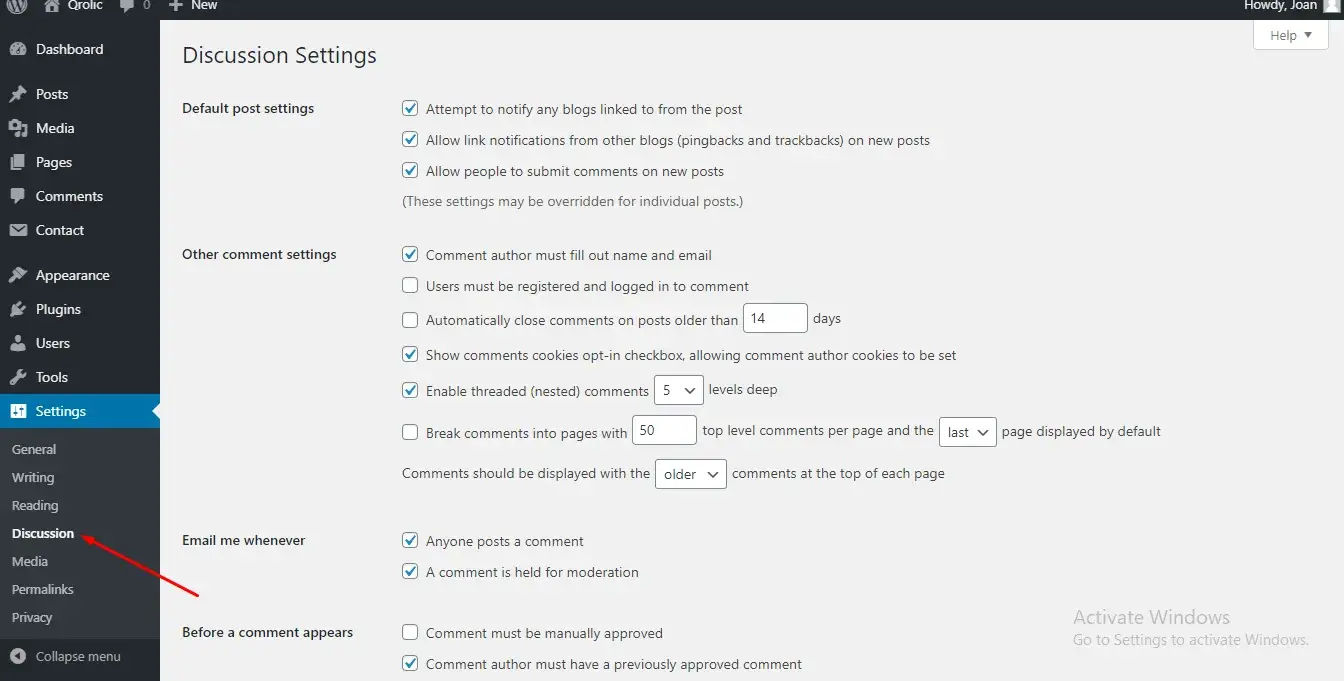
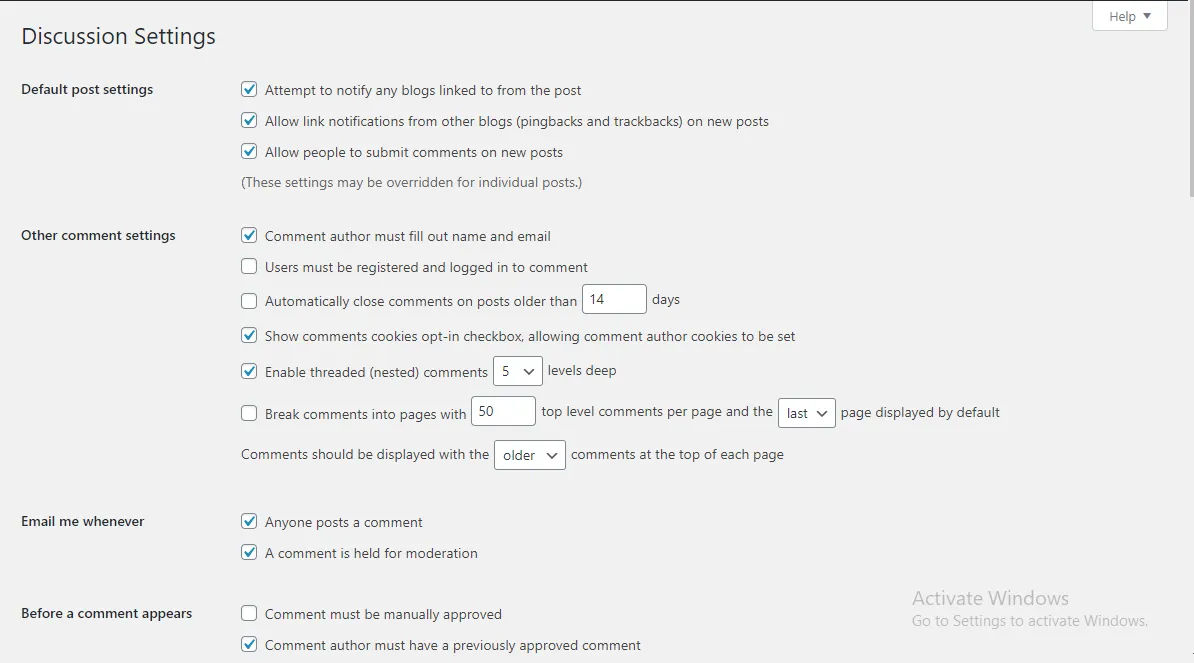
The Discussion option is used to change discussion settings and avatar.

The Media option is used to change or modify the thumbnail image of your website.


Permalinks option use to change permalinks


The Privacy option is used to set the default privacy policy page.


Tools
Tools menu helps you to import and export some WordPress settings, posts, pages, etc. This menu contains options like Available Tools, Import, Export, Site Health, Export Personal Data, Erase Personal Data, etc.

With the import option, you can import external files to your site.


With the export option, you can export and download your content.


Site Health option analyses your site for any malfunctioning or inactive plugins and other elements.

Conclusion
I hope this article has offered great help to your WordPress learning. If you want more such articles and tutorials on WordPress, keep visiting our blog page. Please comment down below your queries regarding this article and don’t forget to share this on your social media profiles.
If you are looking for a software firm to create your business website or mobile app, your search ends here. We build affordable and robust software solutions for businesses to digitally thrive on. Contact us to get a quote. You can mail us at [email protected] or WhatsApp us on +91 95 37 84 38 39.
