Is Shutterstock rejecting your graphics every time you upload? You may be unaware of the guidelines for uploading graphics on this platform. There can be many reasons for your rejection, one of them is not having an appropriate vector file.
When you submit a vector file, generally you are supposed to send the file in EPS format.
What is EPS format?
Encapsulated PostScript (EPS) is a standard graphics file format. An EPS file contains a description of layouts of an image’s elements using a PostScript page description language. Internally, this file is nothing but a PostScript program describing the layout of an image.
That means, instead of storing your file as one image, it stores mathematical equations made up of lines, curves, and joints that create different geometric shapes. In simple words, all the elements of an image are stored separately and then combined with all these elements when you open the file.
Why EPS file?
Now that you know what a .eps file is, you must be wondering why it is so important. It is one of the legacy graphic file formats and though it isn’t being much used nowadays as it used to be before, it is still an important file format for graphic designers because:
It is editable – An EPS file is a vector-based graphic file, so if you want to edit something you can easily do so as all the elements are separate entities.
It is Resizable – Unlike JPEG files which are made of pixels, EPS files are vector graphics that contain bitmaps that tell each pixel what size and color they should be so you can enlarge an image up to any size without making it blurry.
It is compatible – Though this vector file format is much older, many professionals still use it because it is compatible with almost every graphic editing software.
Here I have briefly explained how you can create an EPS image that Shutterstock can’t reject.
How to create an EPS image file?
Step 1:
Open Adobe Illustrator.
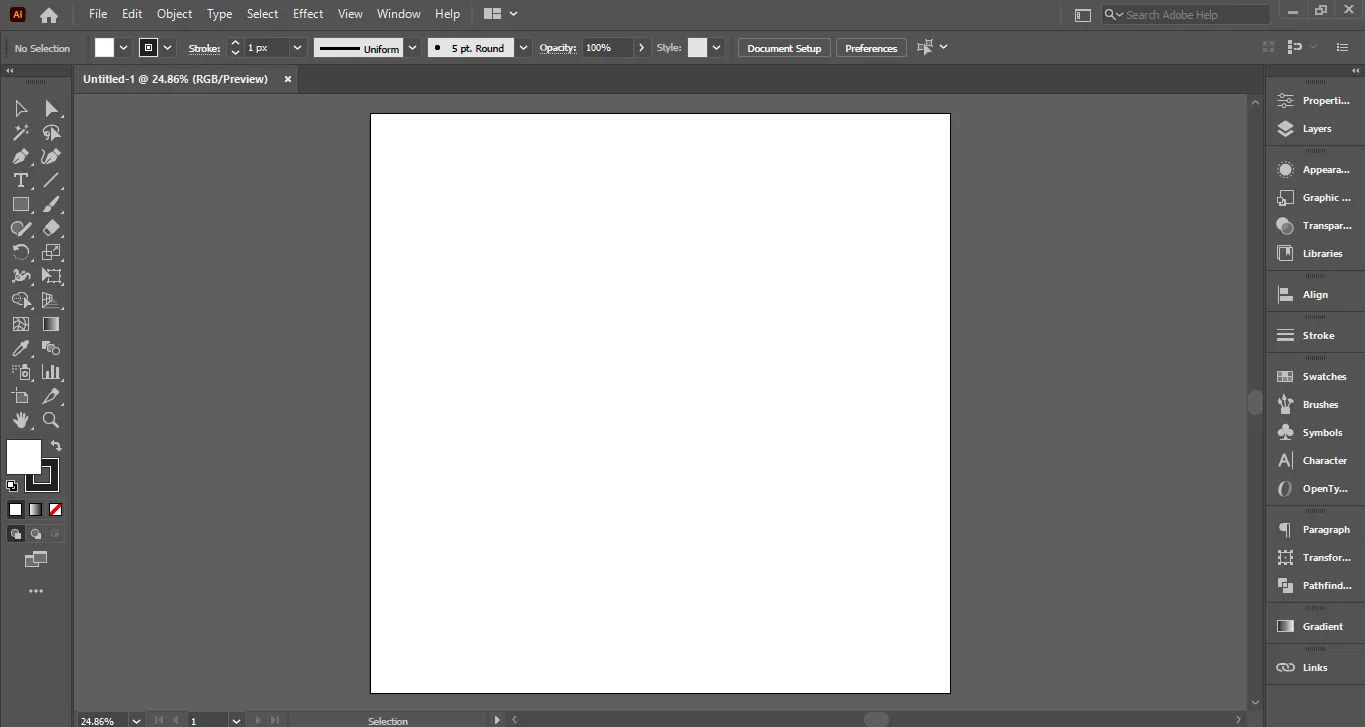
Step 2: Create an Art Board
The art board’s size should be greater than 4 megapixels.
Here we are creating our artboard with 2000×2000 pixels.
Do not misunderstand Megapixels (MP) with Megabytes (MB).
Megapixel refers to the dimensions whereas Megabyte denotes the size of the file.
To calculate the megapixels of your image, multiply the X (width) with the Y (height).
Best Practice:
2000 x 2400 pixels = 4.8 Megapixels – A file of this size is acceptable.
1200 x 3000 pixels = 3.6 Megapixels – A file with a size like this, won’t be accepted by Shutterstock as it is smaller than our minimum required size.
Step 3: Create Your Design
Keep these points in mind while creating the graphic:
- The vector should fit inside the artboard. You can use a clipping mask if it isn’t fitting in the artboard.
- Do not include raster files. Use of any kind of effect or fx is not allowed.
- The outline of all the shapes should be closed. Do not leave any open paths.
- Do not use strokes or brushes. Only outlined or expanded strokes are allowed.
- Do not add live fonts. Instead, outline or expand them.
- Do not lock layers.
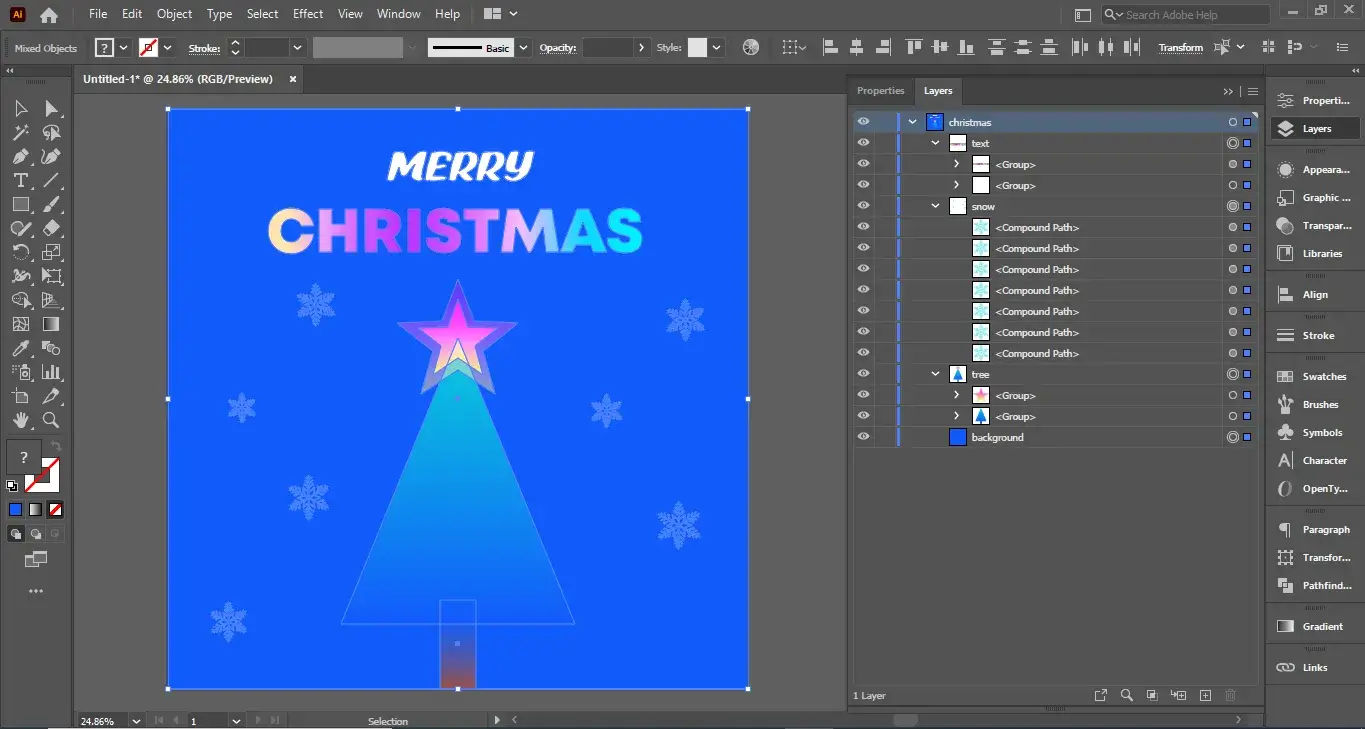
- All the layers should be organized and named properly (As the below image shows).
- Traced images are not allowed. And if you want to level up designing, add the shadow effect. Wondering how to do it? Click here.
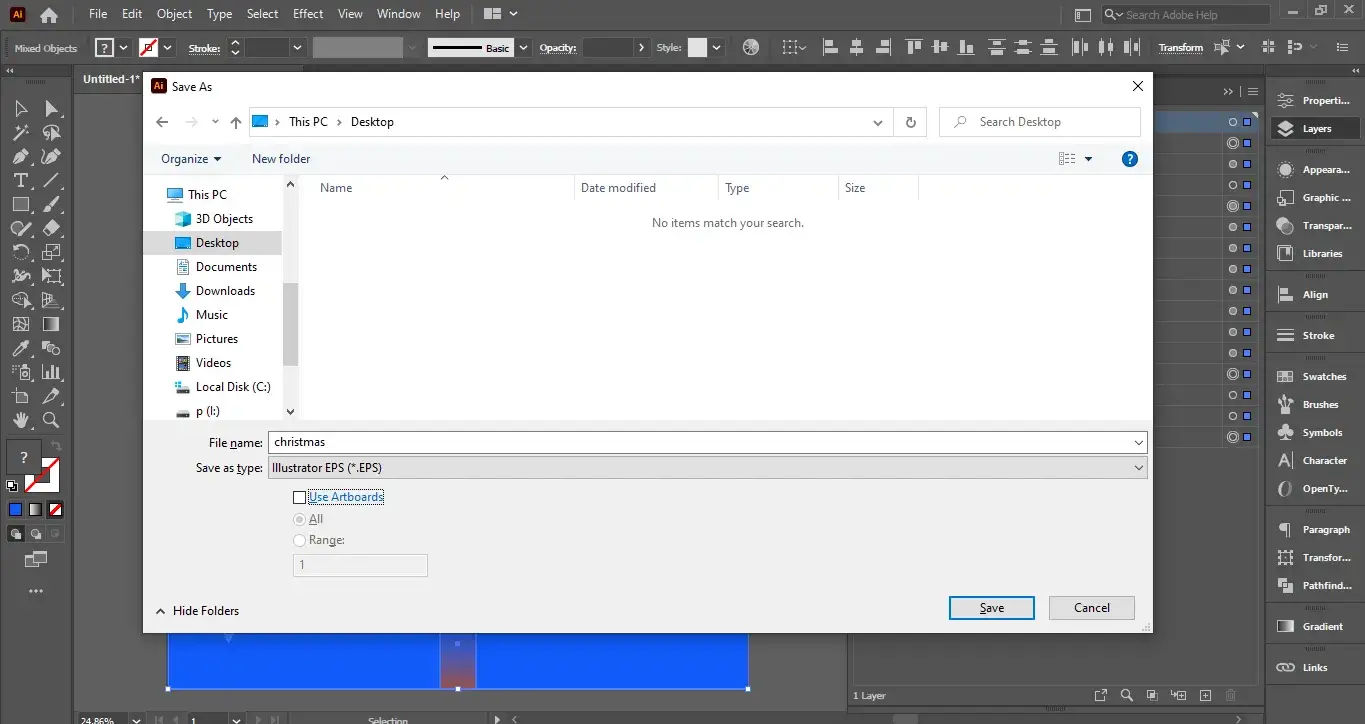
Step 4: Save your file in eps format
Give your file a proper name.
Use Artboard live uncheck.
Note: You can add only one artboard in a file.
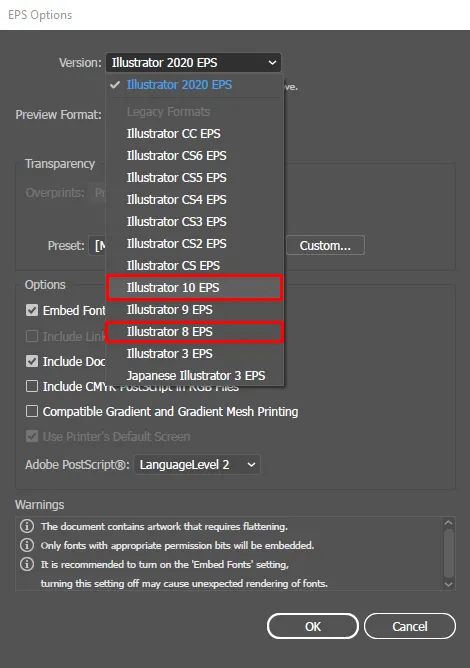
In transparency settings:
Set user raster 0, as raster files are not allowed to be added.
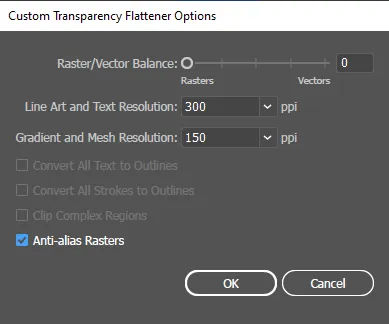
Though resolution depends on file size, in most cases default works fine.
Leave all options unchecked and you are done.
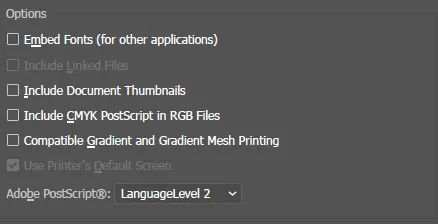

Step 5: Check all the points
Now close the file and open it again to check.
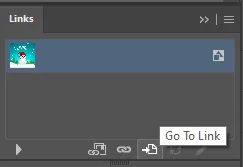
Check the links panel too.
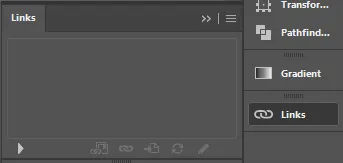
If any vector is converted to a raster, it will show up here.
If that happens, just delete the vector and create a different design because this shape will not work.
Now again save your file, close it, re-open, and check.
If you don’t find anything, your file is ready to be uploaded.
Conclusion
Other than this, there are still many factors that should be taken into consideration before you create and submit your EPS image to Shutterstock. They have set very high standards for accepting a vector image. I hope this article was helpful to you. If you have any queries regarding this, please comment below.
If you are looking for a WordPress agency to create your business website, your search ends here. We build affordable and robust software solutions for businesses to digitally thrive on. Contact us to get a quote. You can mail us at [email protected] or WhatsApp us at +91 95 37 84 38 39.
